Getting started
Xaldro turns every Webflow Ecommerce order into a balanced invoice in Xero and QuickBooks, automatically. No Zapier, no per-task fees, and nothing reaches your books unless it reconciles to the cent.
You can be live in about five minutes.
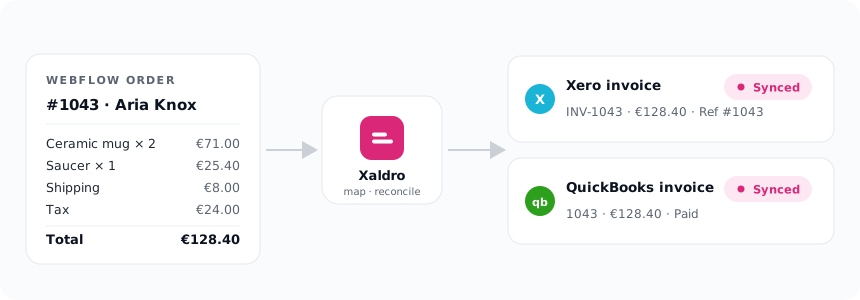
1. Connect Webflow
Install Xaldro from the Webflow Marketplace (or open the app and click Connect Webflow). You authorize read access to your sites and orders, and Xaldro registers the order webhooks for you. Your store data stays in Webflow; we only read what we need to post invoices.
2. Connect Xero or QuickBooks
In the app, connect the accounting system your orders should sync to. You can connect both Xero and QuickBooks, every order then posts to each.
- Starter plan: one provider (Xero or QuickBooks).
- Growth and up: both.
See Connecting Xero & QuickBooks for the details.
3. Map your accounts
Tell Xaldro which ledger accounts orders post against: a revenue account (required), and optionally shipping, a clearing/bank account, and a tax rate. This takes a minute in Settings. See Mapping your accounts.
4. You're live
New orders now sync in real time. On install, Xaldro also backfills your last 90 days so your books catch up immediately. Watch them land on the Overview and Orders screens, each with a deep link to the invoice in Xero or QuickBooks.
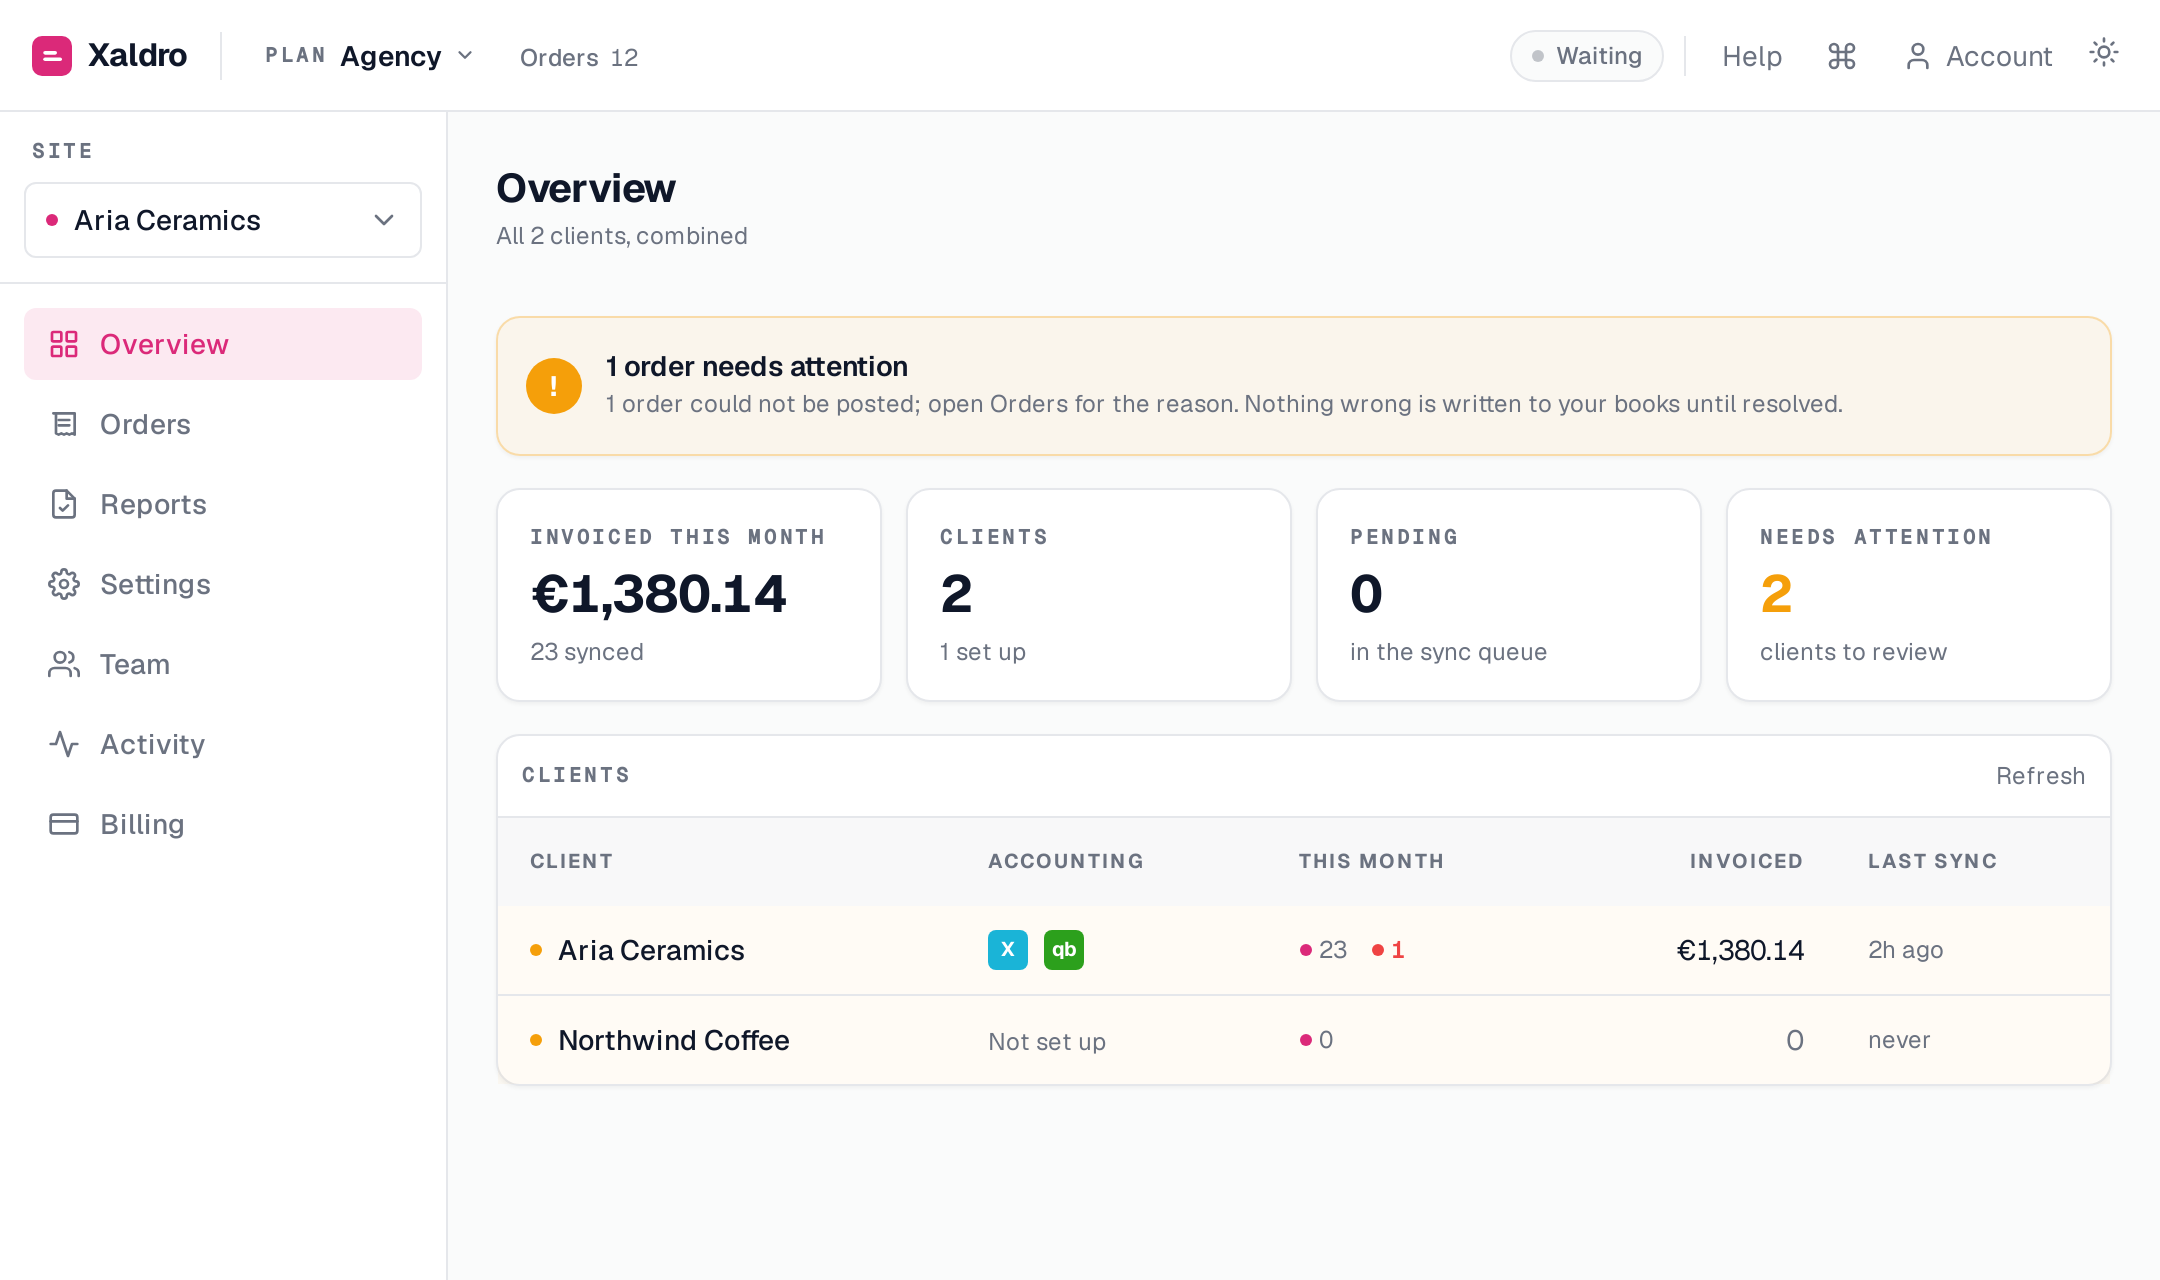
The Overview is your at-a-glance home: how much has been invoiced this month, how many orders synced, and, most importantly, whether anything needs attention. If an order can't be posted cleanly, it's counted here and flagged, never quietly written wrong to your books. Everything else just works in the background.
Every invoice is checked against what the customer actually paid. If the numbers don't match to the cent, the order is held with a clear message instead of posting something wrong. See How syncing works.
Next steps
- How syncing works , the reconcile-to-the-cent guarantee.
- Refunds & edited orders.
- Sync rules , control which orders post.
- Importing past orders , pull more history.